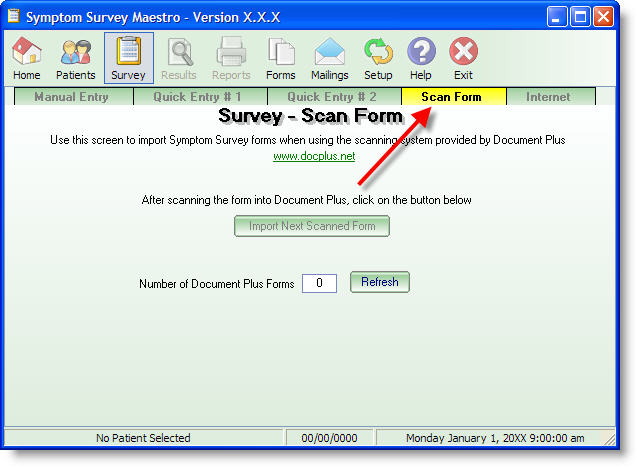
Document Plus Setup Screen Shots
The Document Plus scanning system and Systems Survey Maestro work together transparently to allow your practice to quickly scan a Systems Survey form and import the data directly directly into Maestro. It not only imports the Systems Survey answers but all patient (client) data as well (name, address, etc...). The screen shots below show you the one-time setup required to get the 2 systems to talk to each other.
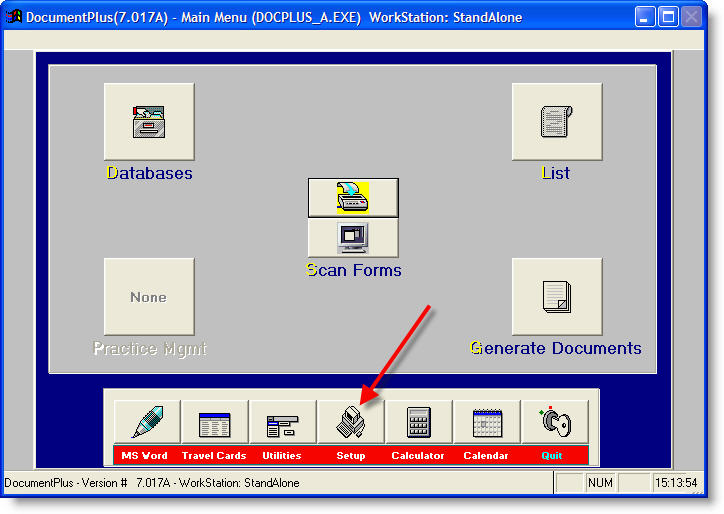
Start Document Plus and click on the Setup button...
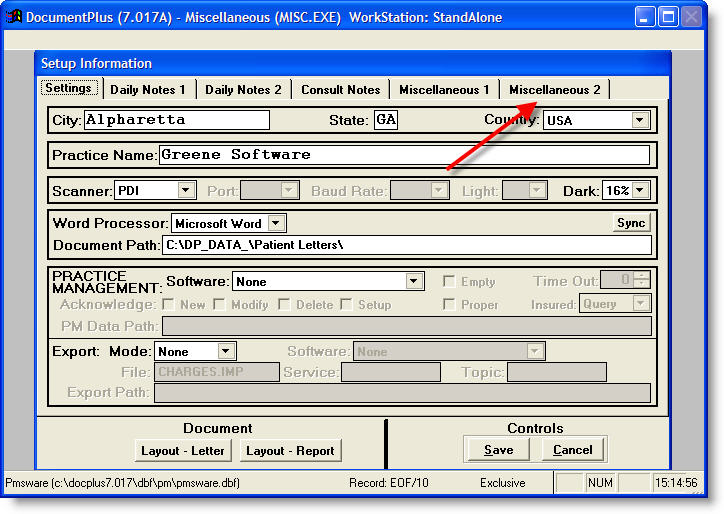
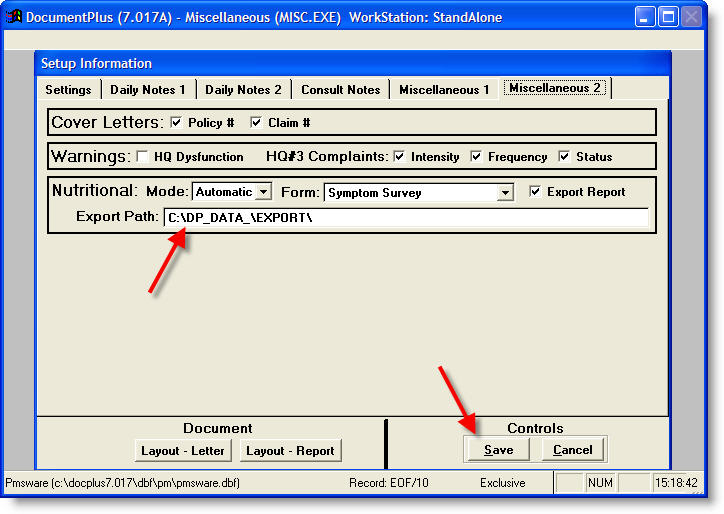
Click on the Miscellaneous 2 tab...
Set the Nutritional section as follows:
Mode: Automatic
Form: Symptom Survey
Export Report: On
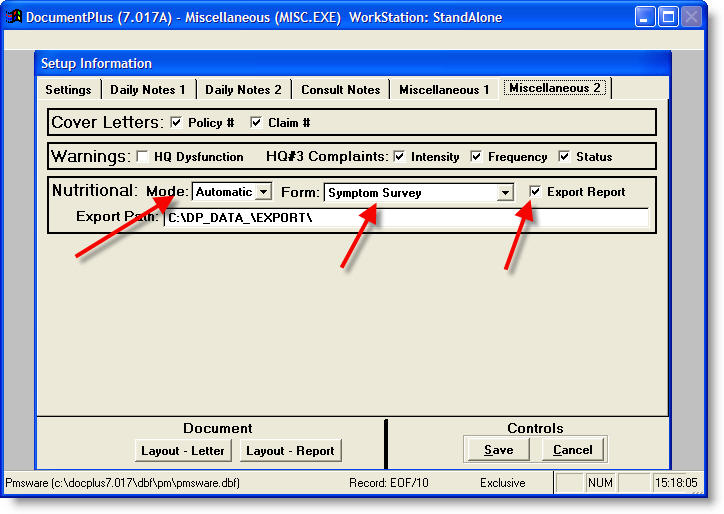
The Export Path should be set per below unless you have Document Plus on a network - then you should point it to a location on your shared server drive. If you change this location, write it down because you will use this same location later when setting up Systems Survey Maestro.
When done, click the Save button.
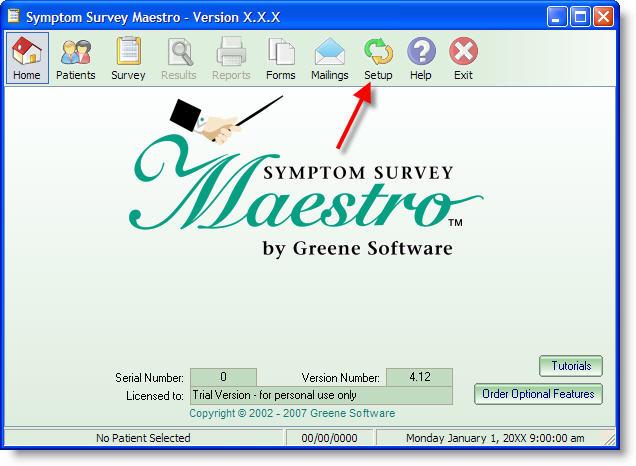
Start Systems Survey Maestro and click on the Setup button...
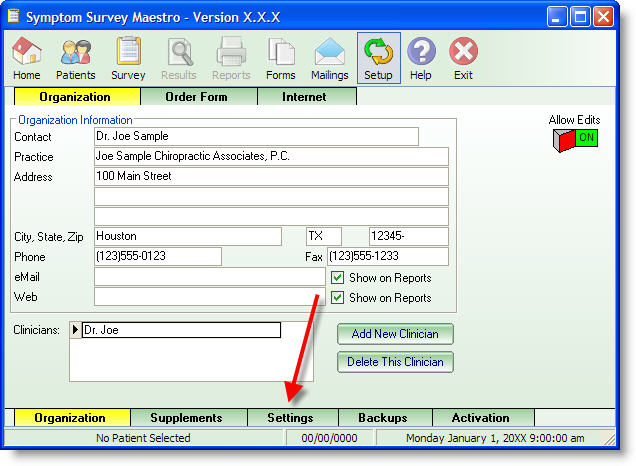
Click on the Settings tab...
Turn on the Allow Edits button...
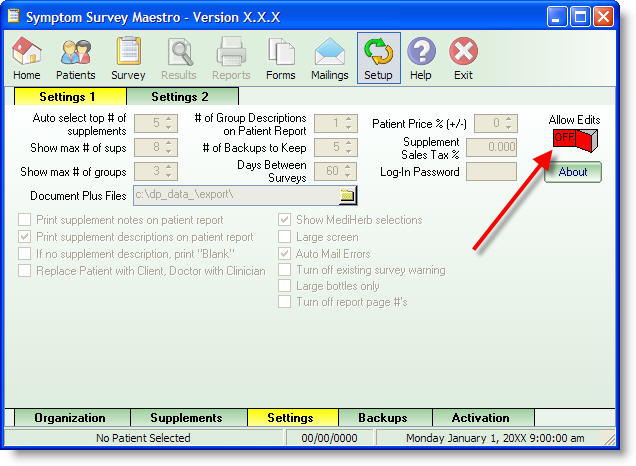
This is the Document Plus default file export location. If you changed the Export Path in Document Plus (above), then use the same location here...
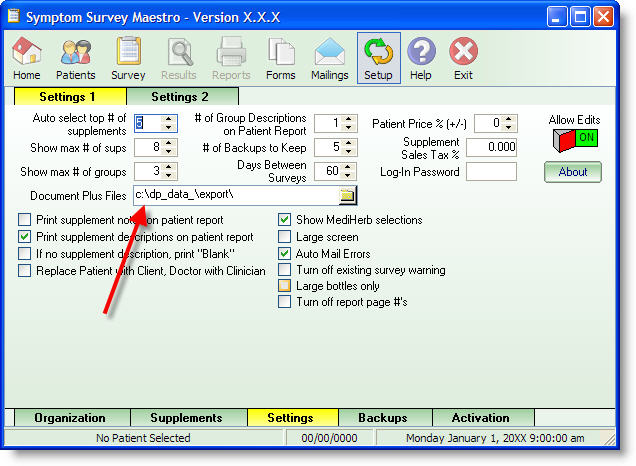
You are now ready to scan a Systems Survey form in Document Plus.
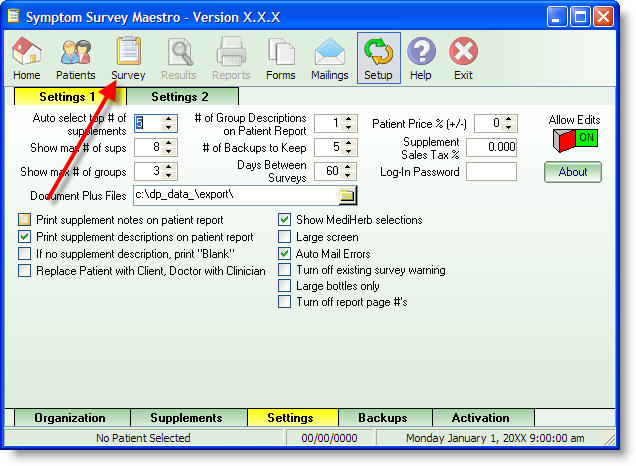
After scanning the form, click on the Survey button in Maestro...
Click on the Scan Form tab. You will now be able to import the Document Plus data by clicking on the Import Next Scanned Form button below. If the button is grayed out (as shown below) then you either did not complete the setups (as described here) correctly or the Systems Survey form did not scan correctly. Feel free to call Document Plus or Greene Software for any assistance.
